Introduction
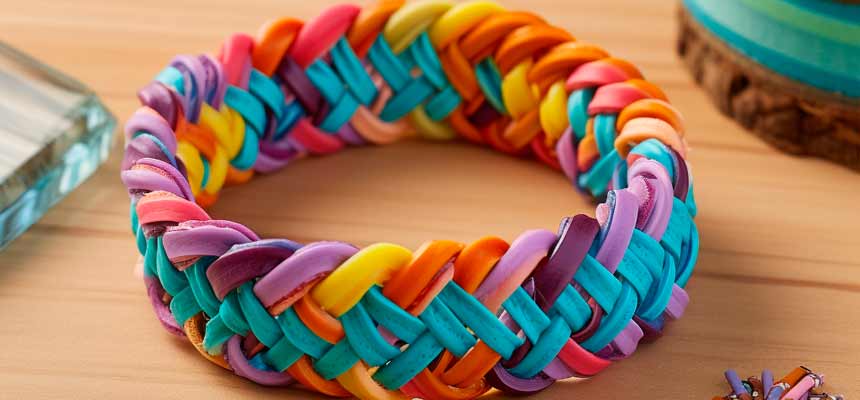
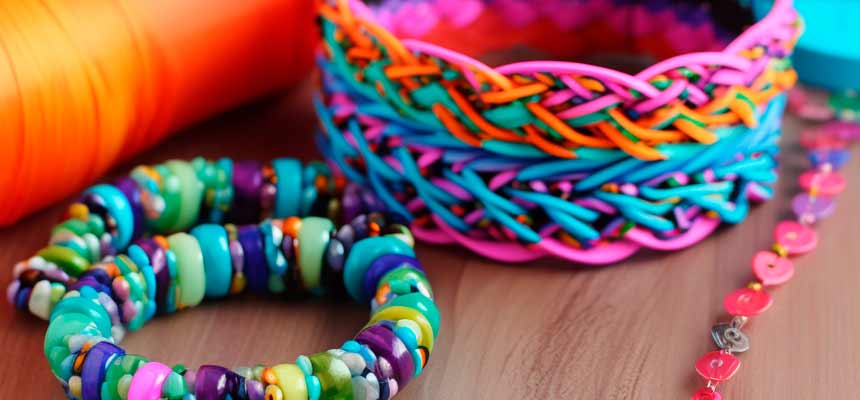
Fishtail bracelets are a popular and stylish accessory, characterized by their intricate, woven pattern that resembles the tail of a fish. Making your own fishtail bracelet is a fun and rewarding project that allows you to showcase your creativity and personal style. In this comprehensive guide, we will walk you through the process of creating a fishtail bracelet step by step, along with tips, tricks, and advice for mastering this fashionable accessory.
- Introduction
- Materials and Tools Needed
- Preparing Your Strings or Cord
- Creating the Fishtail Bracelet
- Finishing Your Fishtail Bracelet
- Fishtail Bracelet Variations
- Tips and Tricks for Perfecting Your Fishtail Bracelet
- Conclusion
-
 Plain Starfish High Polished Silver Pendant by BeYindi 14.96 USD
 -
 Mini Stylish Beaded Round 925 Silver With CZ Stud Earrings by BeYindi 18.59 USD
 -
 Violet Hydro Quartz Brushed Sterling Silver Fashionable Earrings by BeYindi 61.07 USD
 -
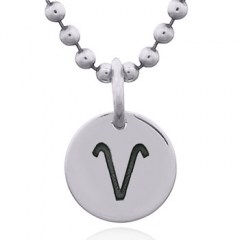 " Aries " Zodiac Sterling 925 Pendant by BeYindi 14.65 USD
Content of the table
Materials and Tools Needed
1.1. String or Cord
Choose a material for your fishtail bracelet, such as embroidery floss, cotton cord, or nylon cord. Consider factors like color, thickness, and texture when making your selection.
1.2. Scissors
A pair of sharp scissors will be needed to cut your string or cord to the appropriate lengths.
1.3. Measuring Tape or Ruler
Use a measuring tape or ruler to measure the lengths of string or cord and ensure your bracelet is the correct size.
1.4. Clipboard, Tape, or Safety Pin
Secure your bracelet while you work using a clipboard, tape, or a safety pin attached to a pillow or your clothing.
1.5. Beads, Charms, or Embellishments (Optional)
Add beads, charms, or other embellishments to your fishtail bracelet for a personalized touch.
Preparing Your Strings or Cord
2.1. Measuring and Cutting
Measure and cut two strands of string or cord, each approximately four times the desired length of your finished bracelet. For example, if you want a 7-inch bracelet, cut each strand to be 28 inches long.
2.2. Choosing Colors and Patterns
Select the colors and patterns for your fishtail bracelet. You can use two contrasting colors or multiple shades of the same color for a more subtle effect. Be creative and experiment with different combinations.
Creating the Fishtail Bracelet
3.1. Tying the Initial Knot
Fold both strands in half, aligning the ends. Tie a knot at the folded end, creating a loop that will serve as the closure for your bracelet. Make sure the loop is large enough to fit a button or knot through it.
3.2. Securing Your Bracelet
Secure the looped end of your bracelet to a clipboard or use tape or a safety pin to hold it in place while you work.
3.3. Weaving the Fishtail Pattern
Begin weaving your fishtail pattern by following these steps:
Step 1: With the four strands lying parallel to each other, take the far-left strand and place it over the two middle strands, making it the new third strand from the left.
Step 2: Take the far-right strand and place it over the two middle strands, making it the new second strand from the left.
Step 3: Repeat steps 1 and 2, weaving the outer strands over the middle strands, alternating between the left and right sides. Continue this process until your fishtail bracelet reaches the desired length.
Finishing Your Fishtail Bracelet
4.1. Tying the Final Knot
Once your fishtail bracelet has reached the desired length, tie a secure knot with all four strands at the end of the woven pattern.
4.2. Adding a Closure
Create a closure for your bracelet by either tying an overhand knot with the remaining strands, large enough to fit through the loop at the other end, or by attaching a button or bead as a clasp.
4.3. Trimming Excess String or Cord
Trim any excess string or Cord
Use your scissors to carefully trim any excess string or cord from the end of your fishtail bracelet, leaving a small tail beyond the final knot or closure.
4.4. Adding Optional Embellishments
If desired, add beads, charms, or other embellishments to your fishtail bracelet for a personalized touch. You can thread them onto the strands before tying the final knot or attach them to the finished bracelet using jump rings or additional string.
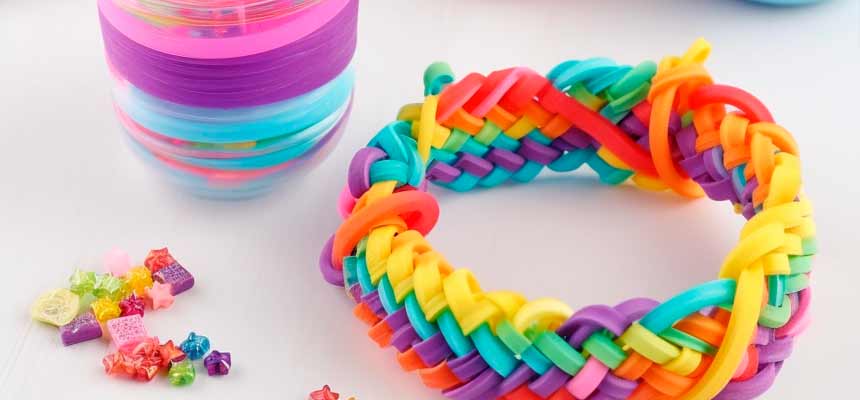
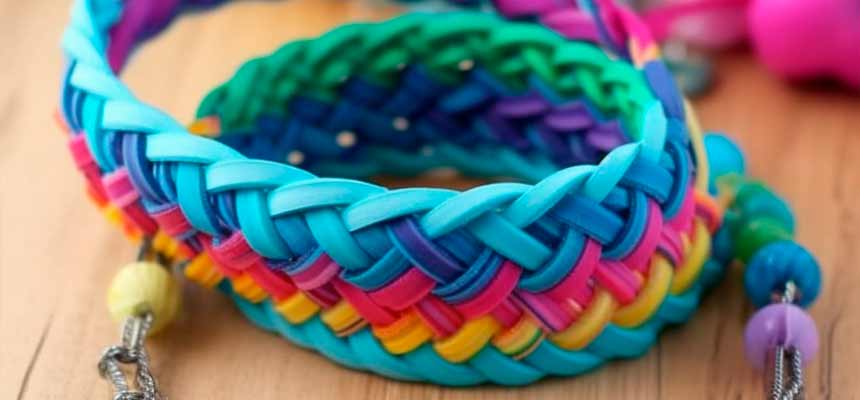
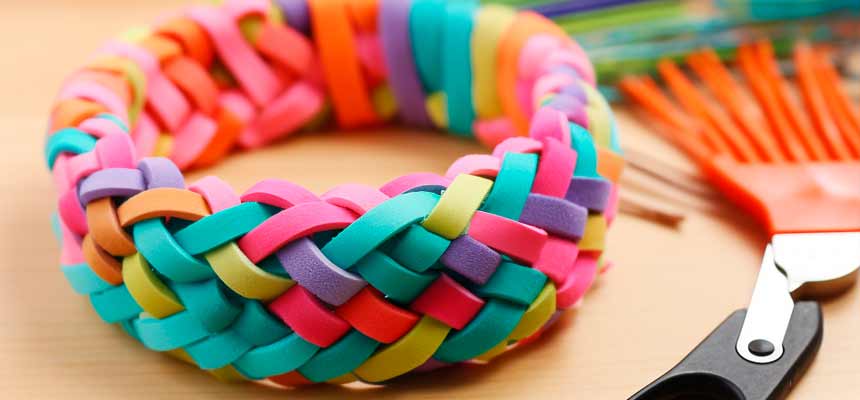
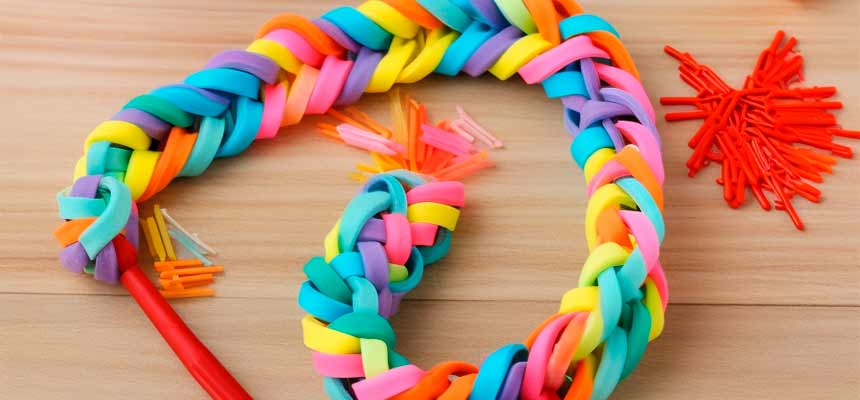
Fishtail Bracelet Variations
5.1. Multi-Strand Fishtail Bracelets
Create a multi-strand fishtail bracelet by using more than two strands of string or cord. Experiment with different color combinations and patterns for a unique and intricate design.
5.2. Reversible Fishtail Bracelets
Make a reversible fishtail bracelet by weaving two separate fishtail patterns in contrasting colors, then stitching or weaving the two patterns together along one edge.
5.3. Fishtail Bracelet with Beads
Incorporate beads into your fishtail pattern by threading them onto the outer strands before weaving them over the middle strands. This will create a beaded fishtail bracelet with a textured, dimensional appearance.
Tips and Tricks for Perfecting Your Fishtail Bracelet
6.1. Maintaining Even Tension
Keep the tension consistent as you weave your fishtail pattern to ensure a uniform and neat appearance. If the tension is too loose or too tight, the bracelet may not lay flat or the pattern may become distorted.
6.2. Adjusting the Length
If your fishtail bracelet ends up too short or too long, you can adjust the length by carefully undoing the knots at the ends and retying them at the desired length. Alternatively, you can add or remove rows of the fishtail pattern to achieve the correct size.
6.3. Caring for Your Fishtail Bracelet
To keep your fishtail bracelet looking its best, avoid exposing it to water, chemicals, or direct sunlight. If the bracelet becomes dirty, gently clean it with a damp cloth and allow it to air dry.
Conclusion
Creating a fishtail bracelet is an enjoyable and rewarding project that allows you to express your creativity and personal style. With this comprehensive guide, you now have the knowledge and skills needed to make a beautiful and unique fishtail bracelet from start to finish. Experiment with different materials, colors, and patterns to create a variety of fishtail bracelets for yourself, friends, or family members. Happy weaving!