Introduction
Clay bead bracelets are a popular and versatile accessory that can add a touch of creativity and personalization to any outfit. Creating unique clay bead bracelets has never been more enjoyable with the wide range of colors, shapes, and textures available. This article will explore various clay bead bracelet ideas, providing inspiration for your next DIY project. From simple and minimalistic designs to intricate and detailed patterns, there is a clay bead bracelet idea for everyone.
- Introduction
- The Basics of Clay Bead Bracelets
- Colorful and Vibrant Clay Bead Bracelet Ideas
- Patterned and Textured Clay Bead Bracelet Ideas
- Themed Clay Bead Bracelet Ideas
- Tips and Tricks for Creating Professional-Quality Clay Bead Bracelets
- Conclusion
-
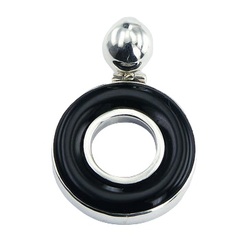 Black Agate Pendant Donut Cut Cabochon Sterling Silver by BeYindi 52.29 USD
 -
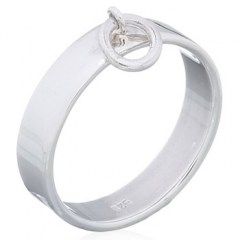 Hanging Donut Ring On Plain Silver Band Ring by BeYindi 31.10 USD
 -
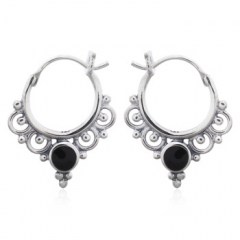 Ornamented Boho Reconstituted Black Stone Hoop Earrings 925 Silver by BeYindi 24.16 USD
 -
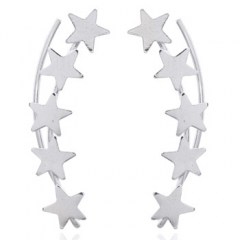 Classic Five Stars Ear Line Sterling Silver by BeYindi 17.56 USD
Content of the table

I. The Basics of Clay Bead Bracelets
A. Types of clay used for beads
1. Polymer clay. Polymer clay is a popular choice for making clay beads due to its versatility, easy handling, and wide range of available colors. This type of clay can be baked in a standard oven, allowing you to create long-lasting beads with a professional finish.
2. Air-dry clay. Air-dry clay is another option for making beads. This type of clay does not require baking and hardens as it dries in the air. It's an excellent option for those who don't have access to an oven or prefer a more eco-friendly crafting process.
3. Ceramic clay. Such as earthenware, stoneware, or porcelain, is used to create beads fired in a kiln. These beads are more durable and have a unique, high-quality finish. However, working with ceramic clay requires specialized equipment and knowledge.
B. Essential tools and materials
1. Clay-rolling tools. Rolling pins or pasta machines can be used to roll out clay into thin, even sheets. These tools help create uniform beads and allow for easier shaping and patterning.
2. Clay-cutting tools. Clay-cutting tools, such as knives, blades, or cookie cutters, are essential for cutting the clay into desired shapes and sizes. These tools enable you to create various bead designs and maintain consistency in your work.
3. Bead-baking supplies. Bead-baking supplies include baking trays, parchment paper, and an oven or toaster oven for baking polymer clay beads. Proper baking is essential to ensure your beads are durable and maintain their shape and color.
4. Stringing materials. Such as elastic cord, beading wire, or thread, are used to assemble your clay bead bracelet. Choose a stringing material that complements your beads and provides a secure and comfortable fit.
5. Findings and clasps. Findings and clasps, such as jump rings, lobster clasps, or toggle clasps, are used to secure your bracelet and add a professional touch. Select a clasp that matches the style of your bracelet and provides a secure closure.
C. Basic techniques for making clay beads
1. Rolling clay into uniform beads. Creating uniform beads is essential for a polished and professional-looking bracelet. Roll clay between your hands or use a bead-rolling tool to create consistent, round beads.
2. Creating textured beads. Textured beads add visual interest to your bracelet. Use stamps, molds, or household objects to imprint patterns and textures onto your clay beads.
3. Baking and sealing beads. Bake polymer clay beads according to the manufacturer's instructions to ensure they are durable and long-lasting. Once baked, seal your beads with a glaze or varnish to protect their color and finish.
II. Colorful and Vibrant Clay Bead Bracelet Ideas
A. Monochromatic designs
1. Using various shades of the same color. Create a monochromatic bracelet by selecting several shades of the same color. Gradually transitioning from light to dark shades creates a cohesive and visually appealing design.
2. Incorporating different bead shapes and sizes. Experiment with different bead shapes and sizes within your monochromatic color scheme. Combining round, oval, square, or irregularly shaped beads adds variety and visual interest to your bracelet.
B. Rainbow-inspired bracelets
1. Arranging beads in a gradient pattern. Create a vibrant and eye-catching bracelet by putting beads in a gradient pattern, following the colors of the rainbow. This design is perfect for those who love bold, bright accessories.
2. Mixing and matching bold, bright colors. Feel free to mix and match bold, bright colors in your rainbow-inspired bracelet. Combine contrasting hues for a striking and playful look.
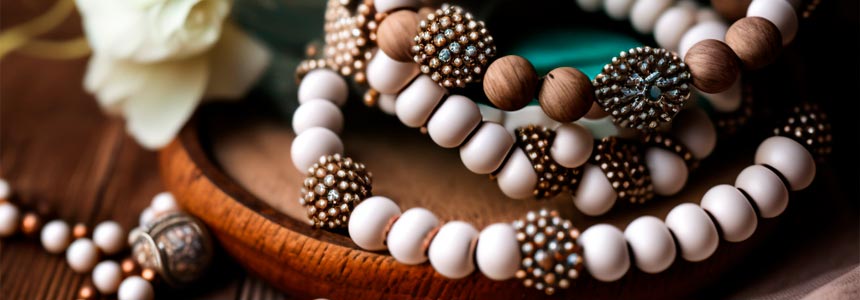
C. Earth-toned designs
1. Use natural, muted colors for a rustic look. Create a rustic, earthy bracelet using natural, muted colors like browns, greens, and creams. This color palette is perfect for those who prefer understated accessories.
2. Combining clay beads with wooden or stone beads Incorporate wooden or stone beads into your earth-toned bracelet for added texture and natural touch. These materials complement the clay beads and create a cohesive, organic design.
D. Marbled effect bracelets
1. Mixing multiple clay colors for a marbled look. Create stunning marbled beads by combining multiple clay colors. The swirling patterns produced by this technique result in unique and eye-catching beads.
2. Creating eye-catching patterns with marbled beads. Combine your marbled beads with solid-colored beads or metal spacers for a visually engaging bracelet design. The marbled effect adds a touch of sophistication and depth to your accessory.
III. Patterned and Textured Clay Bead Bracelet Ideas
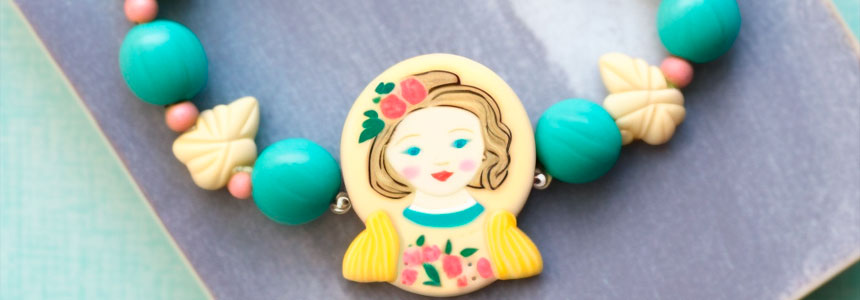
A. Floral-inspired designs
1. Creating flower-shaped clay beads. Craft flower-shaped clay beads by shaping petals around a central bead or using floral molds or cookie cutters. These delicate and feminine designs are perfect for spring and summer accessories.
2. Incorporating floral patterns onto beads. Imprint or paint floral patterns onto your clay beads for a subtle yet beautiful floral touch. Combine these patterned beads with solid-colored beads for a balanced and harmonious design.
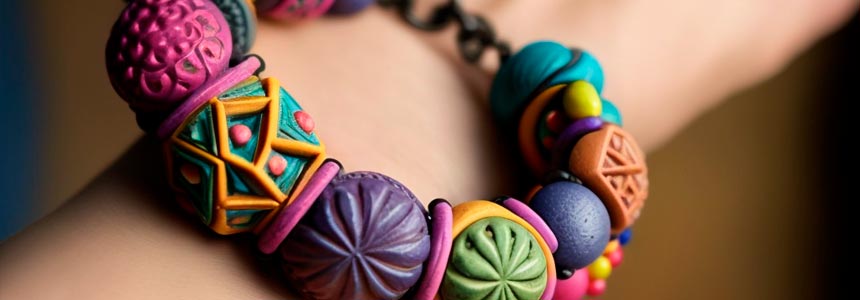
B. Geometric patterns
1. Using geometric shapes for bead designs. Experiment with geometric shapes, such as squares, triangles, or hexagons, when creating your clay beads. These modern and edgy designs add a unique twist to your bracelet.
2. Creating intricate patterns with clay canes. Use clay canes to create complex geometric patterns on your beads. This advanced technique requires patience and precision but results in stunning, one-of-a-kind beads.
C. Tribal and ethnic-inspired bracelets
1. Emulating traditional patterns and designs. Draw inspiration from traditional tribal and ethnic patterns to create unique and culturally-inspired clay bead bracelets. Research different cultures and their traditional beadwork to find a way that resonates with you.
2. Combining clay beads with metal or bone beads. Incorporate metal or bone beads into your tribal-inspired bracelet for added authenticity and texture. These materials complement the clay beads and enhance the overall design.
D. Textured clay bead bracelets
1. Using stamps, molds, or tools to create texture. Create textured clay beads using stamps, molds, or various household objects to imprint patterns and textures onto your clay beads. The added texture provides visual interest and depth to your bracelet.
2. Incorporating mixed-media elements for added depth. Combine your textured clay beads with other materials, such as fabric, leather, or metal, for a mixed-media bracelet design. These unique combinations create a distinctive and stylish accessory.

IV. Themed Clay Bead Bracelet Ideas
A. Seasonal designs
1. Creating bracelets inspired by different seasons. Craft clay bead bracelets inspired by the colors and motifs of different seasons. For example, create a spring-themed bracelet with pastel-colored beads and flower motifs, a summer-themed bracelet with bright colors and ocean-inspired shapes, a fall-themed bracelet with warm earth tones and leaf patterns, or a winter-themed bracelet with cool colors and snowflake designs.
2. Seasonal charms and embellishments. Incorporate seasonal charms or embellishments into your bracelet designs for added thematic appeal. For example, add snowflake charms to a winter-inspired bracelet or leaf-shaped charms to a fall-inspired bracelet.
B. Holiday-inspired bracelets
1. Crafting bracelets for specific holidays. Create clay bead bracelets for particular holidays, such as Christmas, Valentine's Day, or Halloween. Use holiday-appropriate colors, shapes, and patterns to design unique and festive accessories.
2. Incorporating holiday-themed charms and spacers. Add holiday-themed charms or spacers to your bracelet designs for added festivity. For example, include heart-shaped charms for a Valentine's Day bracelet or pumpkin-shaped spacers for a Halloween bracelet.
C. Zodiac and celestial-themed bracelets
1. Creating beads inspired by zodiac signs or celestial bodies. Design clay beads inspired by zodiac signs, constellations, or heavenly bodies such as the sun, moon, and stars. These mystical and symbolic designs create a unique and personal touch.
2. Combining clay beads with semi-precious stones. Incorporate semi-precious stones associated with specific zodiac signs or celestial bodies into your bracelet designs. These stones add an extra layer of meaning and symbolism to your accessory.
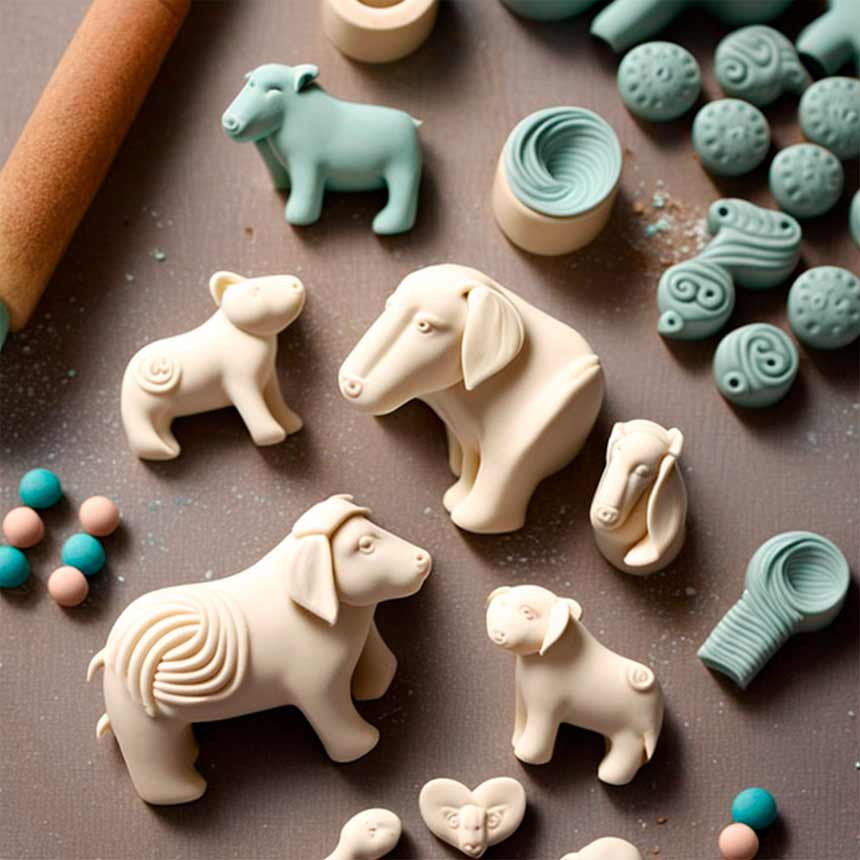
D. Animal-inspired bracelets
1. Crafting animal-shaped clay beads. Create animal-shaped clay beads by shaping the clay by hand or using animal-shaped molds or cookie cutters. These playful and whimsical designs are perfect for animal lovers.
2. Incorporating animal prints and patterns. Imprint or paint animal prints or patterns onto your clay beads for a subtle yet stylish animal-inspired touch. Combine these patterned beads with solid-colored beads for a balanced and eye-catching design.
V. Tips and Tricks for Creating Professional-Quality Clay Bead Bracelets
A. Conditioning your clay for optimal workability
1. Kneading the clay to soften and warm it. Knead your clay before using it to soften and warm the material. This process makes it easier to work with and helps prevent cracks and breaks during shaping and baking.
2. Mixing different clay brands or types for better consistency. If you find that your clay is too soft or too hard, try mixing it with another brand or type of clay to achieve a better consistency.
B. Using molds, templates, or tools for consistent shapes
1. Utilizing bead-rolling tools or molds for uniform beads. Use bead-rolling tools or molds to create consistently sized and shaped beads. This technique ensures a professional and polished look for your bracelet.
2. Employing templates for precise cuts and patterns. Use templates or guides to cut out precise shapes or create intricate designs on your clay beads. These tools help maintain consistency and accuracy in your work.
C. Finishing touches for a polished look
1. Sanding and buffing beads for a smooth finish. Once your beads are baked and cooled, sand and polish them to achieve a smooth and professional finish. This step removes any rough edges or imperfections and provides a polished appearance.
2. Sealing and glazing beads for added durability and shine. Apply a sealant or glaze to your baked beads to protect their color and finish. This step adds durability and a glossy shine to your beads, enhancing their overall appearance.
D. Assembling your clay bead bracelet
1. Stringing beads and adding spacers or charms. Carefully string your clay beads onto your chosen stringing material, adding spacers or charms as desired. Ensure your beads are securely strung and evenly spaced for a balanced and attractive design.
2. Selecting the appropriate clasp and securing your bracelet. Choose a clasp that complements the style of your bracelet and provides a secure closure. Attach the clasp to your stringing material, ensuring it is firmly secured to prevent your bracelet from coming undone.
3. Adjusting the length for a comfortable fit. Measure your wrist and adjust the length of your bracelet to ensure a comfortable and secure fit. Remember that the type of stringing material and the size of your beads can affect the overall length of your bracelet.
Conclusion
Clay bead bracelets offer endless possibilities for creating unique and stylish accessories. With countless colors, shapes, and patterns, there is a clay bead bracelet idea for everyone. By mastering the basic techniques and experimenting with various designs, you can craft stunning bracelets for yourself, as gifts, or even to sell. So, gather your supplies, let your creativity flow, and prepare your clay bead bracelet collection today.