Introduction
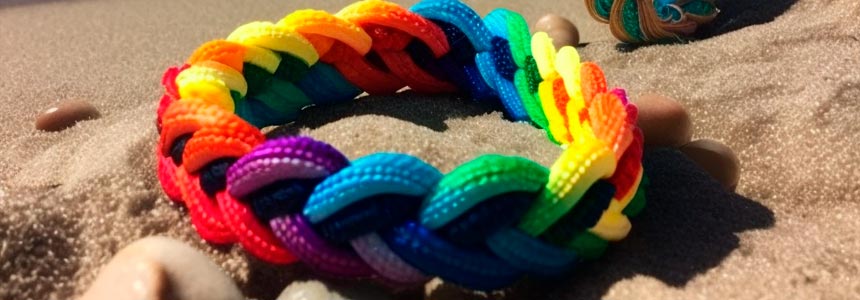
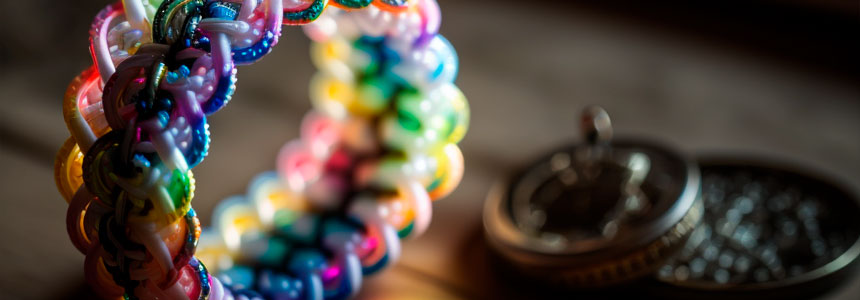
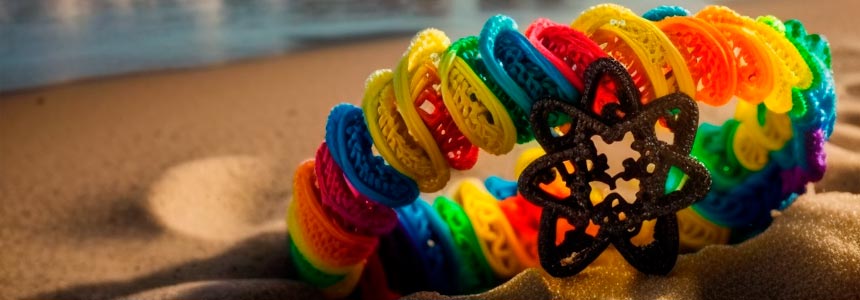
Rainbow Loom bracelets are colorful and fun accessories that have captured the imagination of people of all ages. These intricate and eye-catching bracelets are created using a unique crafting technique that involves looping and weaving small rubber bands on a loom. This comprehensive guide will explore the history of Rainbow Loom bracelets, the various types and patterns, essential tools and materials, and step-by-step instructions for creating your own beautiful creations.
- Introduction
- History of Rainbow Loom Bracelets
- Types and Patterns of Rainbow Loom Bracelets
- Essential Tools and Materials
- Step-by-Step Guide to Creating Rainbow Loom Bracelets
- Tips and Tricks
- Conclusion
-
 Lolli Twisted Silver Wire 925 Chain by BeYindi 27.10 USD
 -
 Three Dots Pyramid In Sterling Silver Bordered Ring by BeYindi 20.74 USD
 -
 Simple Sterling Silver Threader Earrings Chains With Sticks by BeYindi 19.56 USD
 -
 Long Bead Chain And Hoop Rings 925 Silver Stud Earrings by BeYindi 27.99 USD
Content of the table

I. History of Rainbow Loom Bracelets
1. The invention of Rainbow Loom. The Rainbow Loom was invented in 2011 by a Malaysian-born engineer named Cheong Choon Ng. He was inspired to create the Rainbow Loom after seeing his daughters making bracelets using small rubber bands and their fingers. Ng wanted to develop a tool that would make the process easier and more efficient, leading to the creation of the first Rainbow Loom prototype.
2. Popularity. Rainbow Loom bracelets quickly gained widespread popularity, especially among children, as they enjoyed creating unique and colorful designs to wear and share with friends. The creative and social aspects of Rainbow Loom made it a popular crafting activity, and soon, the market was flooded with various loom kits, tools, and accessories.

II. Types and Patterns of Rainbow Loom Bracelets
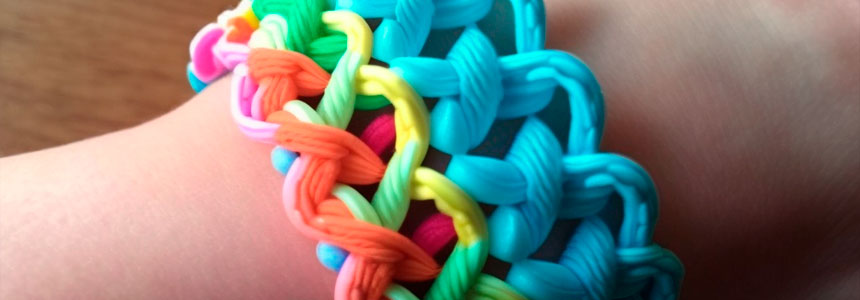
1. Basic Types. There are several basic types of Rainbow Loom bracelets, each with a unique appearance and difficulty level. Some of the most popular types include:
a. Single Chain Bracelet: The simplest and most common type of bracelet, looping rubber bands together in a single, straight chain.
b. Fishtail Bracelet: A slightly more complex design that involves weaving two parallel chains of rubber bands together, creating a pattern similar to a fishtail braid.
c. Ladder Bracelet: A more intricate design with a ladder-like pattern created by weaving multiple rubber bands together.
2. Advanced Patterns. As Rainbow Loom enthusiasts become more skilled, they often seek more challenging and intricate patterns to create. Some popular advanced designs include:
a. Starburst Bracelet: A complex pattern that involves weaving multiple rubber bands together to create a series of star-shaped designs.
b. Zippy Chain Bracelet: A unique design that combines the basic single chain and ladder techniques to create a zippered pattern.
c. Inverted Fishtail Bracelet: A variation of the fishtail design that involves weaving the bands in a slightly different order, creating a more intricate appearance.
III. Essential Tools and Materials
1. Rainbow Loom Kit. The loom is essential for creating Rainbow Loom bracelets, which typically come in a kit. A standard Rainbow Loom kit includes:
a. Loom: A plastic board with multiple pegs that holds and weaves the rubber bands together.
b. Hook: A small, crochet-like tool used to loop and weave the rubber bands on the loom.
c. Rubber Bands: Small, colorful elastic bands designed for Rainbow Loom projects. They come in various colors and textures, allowing for endless creative possibilities.
2. Additional Accessories. In addition to the basic loom kit, several optional accessories can enhance the Rainbow Loom experience:
a. Storage Case: A case or organizer to store your loom, rubber bands, and tools, keeping everything neat.
b. Charms and Beads: Small decorative items can be added to your bracelets to create a more personalized and unique design.
c. Loom Expansion Packs: Additional loom boards and connectors allow you to create more complex designs.
IV. Step-by-Step Guide to Creating Rainbow Loom Bracelets
1. Choose a Pattern and Gather Materials Before starting your Rainbow Loom project:
a) Decide on a pattern and gather the necessary materials.
b) Select your rubber bands, ensuring you have enough of each color for your chosen design.
c) Organize your loom, hook, and any additional accessories you may need.
d) Set Up Your Loom. Prepare your loom according to the pattern's instructions. For most patterns, you'll need to place the loom with the pegs facing upward and the open side of each peg facing away from you. Some designs may require additional loom boards or connectors.
2. Place the Rubber Bands. Following your chosen pattern, place the rubber bands onto the loom's pegs in the correct order and configuration. This step is crucial, as it determines your bracelet's final design and appearance. Take your time and ensure the bands are placed correctly.
3. Begin Weaving. Using the hook, begin weaving the rubber bands according to the pattern's instructions. This process typically involves looping bands over one another, connecting them from peg to peg to create the desired design. Pay close attention to the pattern and be patient; this step can be intricate and time-consuming.
4. Finish and Remove the Bracelet. Once you have finished weaving your bracelet, you'll need to secure the end. This is usually done by attaching a C-clip or S-clip to the final rubber band, ensuring the bracelet doesn't unravel when removed from the loom. Carefully remove the bracelet from the pegs, taking care not to dislodge any rubber bands in the process accidentally.
5. Connect the Ends. Finally, connect the two ends of the bracelet using the C-clip or S-clip, creating a continuous loop. Your Rainbow Loom bracelet is complete and ready to be worn or shared with friends!
V. Tips and Tricks
1. Start with Simple Patterns. If you are new to Rainbow Loom, begin with simple patterns like the single chain or fishtail bracelet before attempting more complex designs. This will help you build your skills and confidence gradually.
2. Practice Tension Control. Maintaining consistent tension while weaving is essential for creating neat and uniform bracelets. Too much tension can cause the bands to snap, while too little can result in a loose and messy design. Practice finding the right balance.
3. Experiment with Colors and Textures. Feel free to get creative with your color choices and combinations. Experiment with shades, gradients, and textures to create unique, eye-catching designs.
4. Join Online Communities. Many online communities and social media groups are dedicated to Rainbow Loom enthusiasts. Joining these groups can provide inspiration, support, and a wealth of new patterns to try.
Conclusion
Rainbow Loom bracelets are a fun and engaging craft that appeals to people of all ages. With a wide variety of patterns, colors, and textures to choose from, the possibilities are virtually endless. Following this comprehensive guide, you can learn the basics of creating Rainbow Loom bracelets and explore more advanced designs as your skills progress. So, gather your materials, set up your loom, and dive into the colorful world of Rainbow Loom bracelets!