Bright saturated colors have been trendy since the creation of the fashion industry. Most people, especially younger ones, strive to create an eye-catching outfit, and this is where colorful Kandi bracelets enter the game.
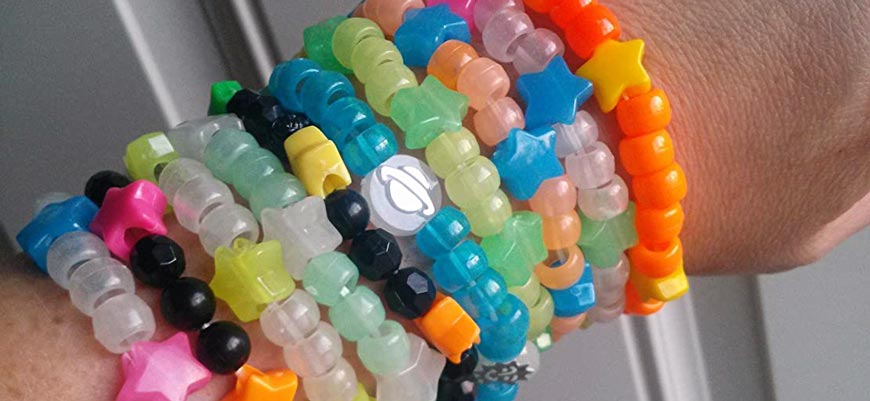
Beaded bracelets are utterly helpful in brightening up your look and bringing variety and fun into it. Today, we will be looking at Kandi bracelets, adorable beaded accessories that many kids and teenagers happen to be extremely fond of. We will teach you how to make top-notch Kandi bracelets by providing step-by-step instructions. Let’s go!
What is a Kandi bracelet?/h2>
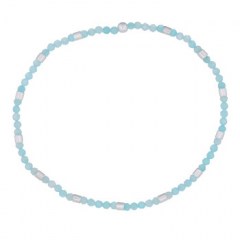
Kandi bracelets are a variation of usual beaded pieces of jewelry that boast vibrant color and are easily made at home with basic supplies. They are typically made of special pony beads that are slightly bigger than usual beads. An elastic thread holds the whole bracelet together and makes it comfortable to wear a lightweight accessory.

Preparations
This is one of the simplest to make types of beaded bracelets among all the alternations. Thus, don’t worry if bracelet tutorials look too complicated for you; this time we guarantee you will get the hang of the technique in split seconds.
The first step is to choose the right and most suitable type of beads. As already mentioned before, pony beads are easy to work with due to their moderate size and relatively wide wholes in each item. They boast smooth rounded edges and are made of plastic.
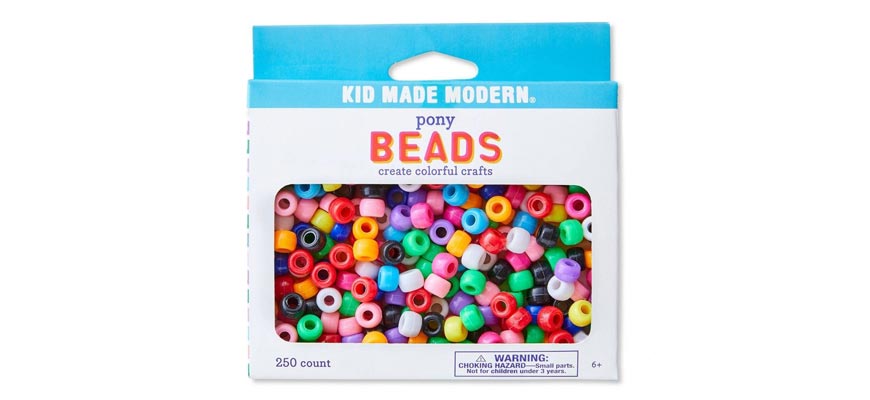
Alternatively, you can also pick other types of beads, like perler beads that are smaller and have straight edges, or peyote ones that make the smallest beads of the three options and are wider than pony beads.
Next, you need to choose what type of string to use for your bracelet. We recommend that you purchase a clear 8 mm stretch cord. This durable plastic string is, however, less convenient to use with beaded bracelets that cloth threads as it may start to dig into the skin on your wrist.
The middle ground would be utilizing an elastic cloth string that is not too wide. Still, if your top priority is to preserve a plastic theme in your accessory, make sure to stick to the first variant.
Now, you just need to get other tools like scissors and clasps that you will use to close the bracelet. As you can see, the supplies are easy to find and available in any stationery shop.
How to make a Kandi bracelet
The first method implies making a single-string bracelet.
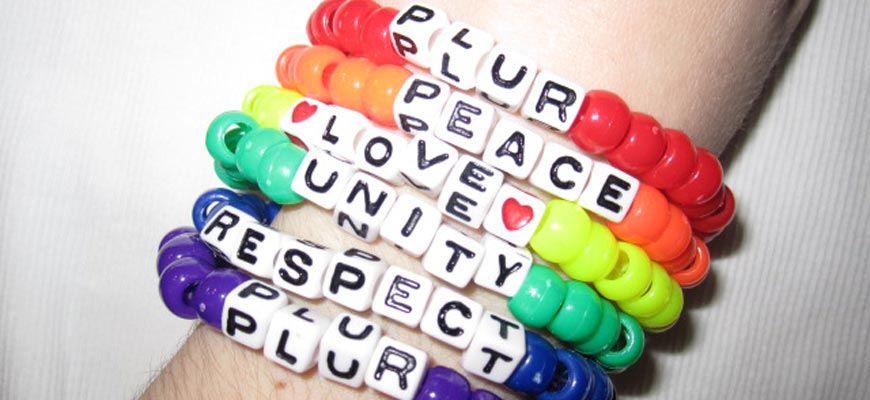
- First, you need to know what length the string should be. Just wrap it around your wrist and add some two inches to easily tie off the ends.
- Select the beads for your bracelet; note their quality as you don’t want any defect items to end up in your bracelet; also pay attention to the beads’ shade if you want to make the best color combination within the accessory.
- If you have clasps at your hands, attach one of them to the string’s end at one side; if no clasps are at your disposal, merely fold the string in half and, when putting beads on it, make sure to hold it tight so that no beads slip off.
- Afterward, start to string your beads in the desired order. There are no strict rules here if it’s just a one-string bracelet. Leave one inch at the end of the elastic.
- To finish your Kandi, make a knot with two ends of the string or add a second clasp and close the bracelet.
Now, let’s proceed to make a beaded wrap Kandi bracelet with several rows.
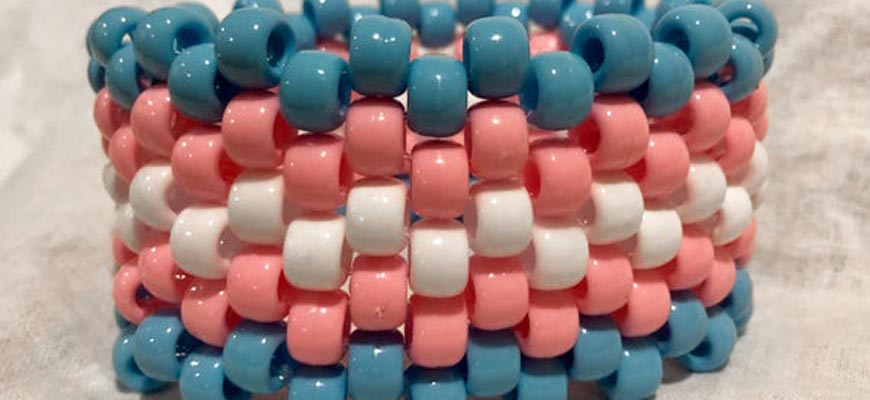
- Make one single-string Kandi bracelet following the previous guideline.
- Once you’ve made a one-layer bracelet, the fun begins. You are to make several rows of beads above the existing one. To do that, take a string and put one end of it under any bead on your bracelet. As you thread it under a bead, put a new bead on the string. You will have a beginning of a new row above the existing bracelet.
- Continue putting new beads over one bead leaving space above the following bead. The new row won’t look like a straight vertical line as beads are to be staggered between rows.
- Finish the second row and tie up one the ends of the string by threading it through the last bead in the first row and creating a knot.
- Continue adding new layers of beads once two beads of the previous row. You will have something similar to a wrap bracelet in the end. You can add as many new rows as you wish as long as it’s comfortable to wear a bracelet.
That was the universal method of creating a Kandi bracelet at home with your own hands. It may take you a few hours to figure out when you should do what, but once you master the technique you will be able to make a bracelet in half an hour or even less.
We hope out tutorial was useful and you learned how to make a cute Kandi bracelet quickly and at ease!


