During the summer season, it’s natural to want to add some vibrant sunny colors to your outfit. Friendship bracelets are known to come in handy in this deed as they make a top-notch accessory, each piece of which has a unique design.
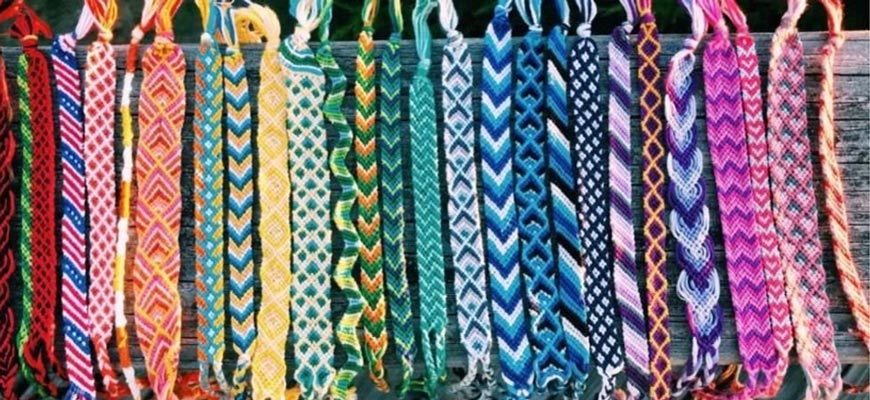
Many of us take it a step further and, instead of buying friendship bracelets, strive to make one at home. However, when it comes to reading tutorials on braiding friendship bracelets, namely reading their patterns, a large fraction of people face frustration while their motivation goes down.
Today, we will teach you how to handle challenging friendship bracelet patterns. Hopefully, after reading this article, you will no longer find it problematic to read patterns of wonderful friendship bracelets. Let’s go!
What is a friendship bracelet pattern?
Friendship bracelet patterns were created to showcase the methodology of braiding specific macrame bracelets; in our case, that is a friendship bracelet.
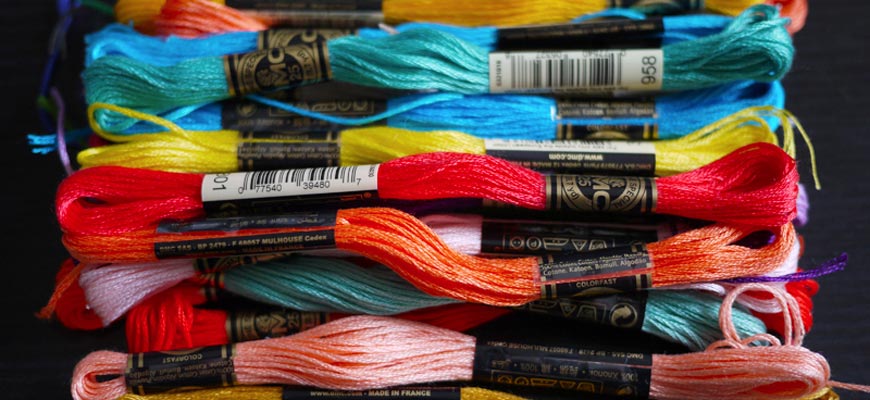
To make a long story short, friendship bracelets are yarn bracelets woven according to a certain pattern of the threads. The patter of each bracelet determines the position and order in which each thread comes within one particular bracelet.
{module[124]}
There are dozens of friendship bracelet patterns available online that you can download, print, or draw yourself. There are a lot of details, signs, and numbers on those patterns, so let’s dive into reading them properly.
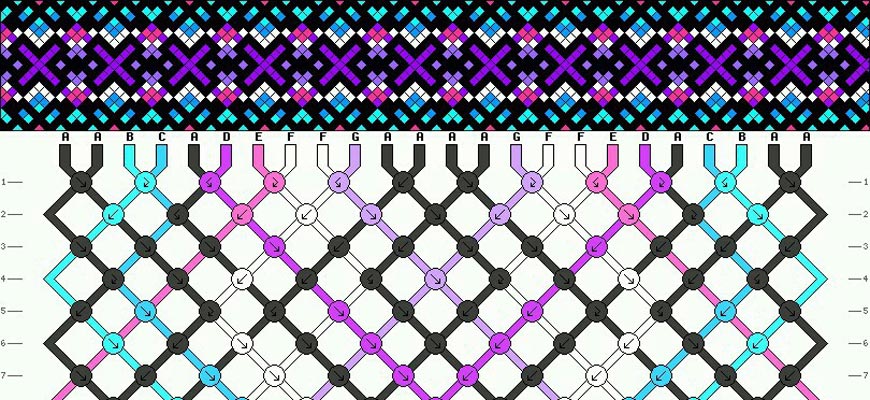
How to read a friendship bracelet pattern?
- At the very top of a pattern, the complete sample of the ornament is usually depicted in the form of a wide strip. It sets an example of what the outcome should look like when you finish your bracelet.
- Then, beneath the example, capital letters (like A, B, C, C, B, A) are indicated. Those stand for each string color. For instance, A is red, B is white, and so on.
- The numbers on the sides stand for each row. Correspondingly, number 1 is row 1, and so on. You will work through the pattern one row at a time, meaning that only after finishing the first row, you will proceed to the second one, and so on.
- Since threads in a friendship bracelet are paired, each two will unite and form a knot. Each knot made of two strings is indicated with a bubble or a circle, in the center of which you will find an arrow.
- The type of arrow in the circle determines what specific type of knot you have to use here. The color of this bubble corresponds to the color of the thread that will be visible and on top of the knot. For instance, if two strings, white and yellow, lead into a single circle and that circle is white, it means that the white thread will be on top and visible in this knot.
- There are various types of knots used in friendship bracelets, each indicated with a certain arrow. Still, learning different types of knots used in friendship bracelets is a topic for another article.
- An important note: when you see a bent edge with no bubble starting or finishing a row, that means that this strand is not used in this specific row and you just skip this string for now.
- The whole patter is a drawing of directions in which each thread should go, showing how it moves throughout the process of weaving. Basically, that helps you see clearly if you are doing it right.
That was our explanation of friendship bracelet patterns. As it turns out, these patterns are way easier to read than expected, so don’t hesitate and give friendship bracelets a try!

