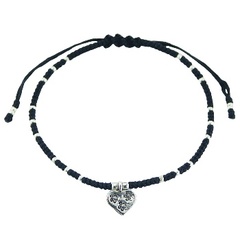
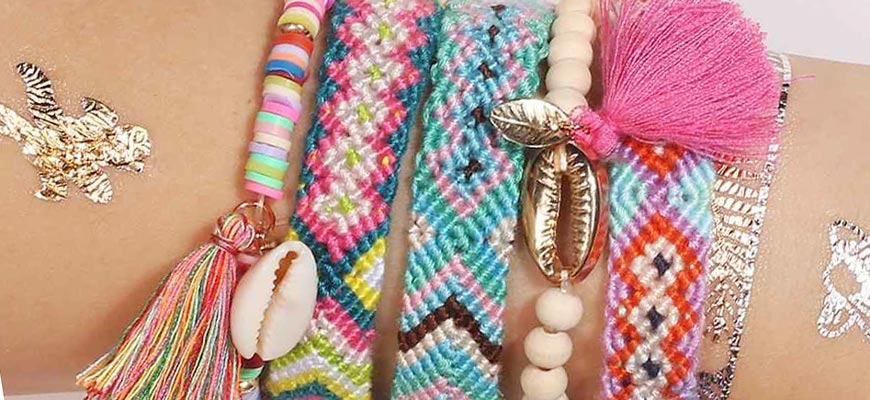
Friendship bracelets make a great accessory and lightweight bracelet that is perfect for daily wear. It has always been popular with teenagers or kids to make such beautiful embellishments with their own hands. It gives the bracelet a personal touch and makes it truly unique and individual, rich in personal effort and love.
When braiding a nice friendship bracelet, the finish stage of the process is also crucial. Here specifically, we will be discussing the most common ways to tie your friendship bracelet so that you feel secure and confident while wearing it. We can also teach you how to read friendship bracelet patterns.
Tying your braided bracelet in a right way is important since a good knot allows you to keep the bracelet tight on the wrist and not be afraid of losing it. With a good knot, your friendship bracelet will never fall off the wrist but stay where it belongs as long as you need.
Some easy ways
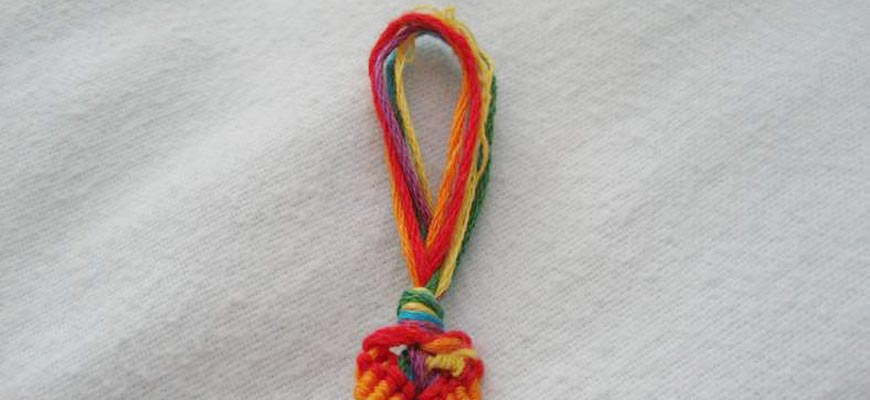
Let’s take a look at some easy ways to secure and tie your newly-made macrame bracelet. Before trying out each of the techniques, make sure you tie a loop at one end of the bracelet by folding the threads in half. You then need to grab your strings at the middle where they’re folded and tie a knot from the threads 1 inch down the highest point of the loop.
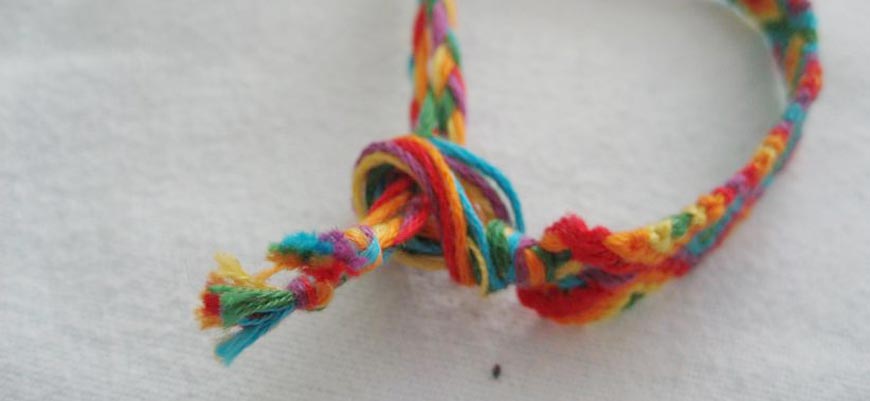
- When finished the main part of the bracelet, you’ll have a few inches of strings unused. Separate them into 3 and make a braid at each side, then just tie a knot at the end of each braid. Cut off the extra threads hanging from the knots.
- Now that you have the loop at the one end and two braids at the other end, feed one of the braids through the loop. Afterward, tie two braids into a knot. To take off the bracelet, just untie the knot from two braids.
To make the bracelet adjustable, you can try to make a sliding knot.
- Take the very top of the loop, fold it in half in the direction away from you and down; take the outer sides of the new two loops and pull, creating a complete, closed loop.
- Now, take two braids at the other end of the bracelet and feed them into this smaller loop. You can now tight the bracelet by putting the loop higher, or vice versa.
Let’s take a look at another method
- When you have a braid at each end of the bracelet, tie the two together into a single simple braid; repeat the procedure by making the second braid out of two ends. It will form a secure knot.
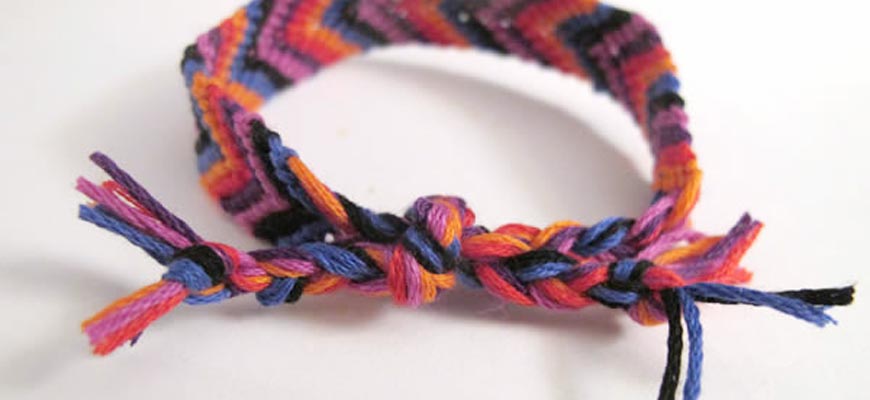
Alternatively, you can try out this one
- When finished your bracelet, divide the string equally into two sections on each side. Make a braid from each of the four string sections.
- Then, unite both braids on each side by making a bigger braid from them. This way you will have two big braids on each side of the bracelet.
- Make knots at the ends of two big braids.
- You will have space between two small braids at each side before they form a bigger braid. You will need to feed the big braids into this space on the other side. You can make a knot here to secure the ends of the bracelet.
Each of these techniques enables you to tie your friendship bracelet and make sure you don’t lose your precious creation. We hope our tutorial is easy to follow and helpful in dealing with your beautiful handmade bracelets!

