Various types of bracelets contribute to different styles and create a certain look. Speaking of adorable leather bracelets, they are quite universal in wearing, made from a soft material, and capable of making your outfit spicy and edgy. How about learning to make those at home?
DIY bracelets are in no wise inferior to those you buy in stores or online. In fact, they provide a personal touch and a sense of individuality that mass-market jewelry will never have.
- Hook clasp leather bracelet
- Braided leather bracelet
- Beaded leather bracelet
- Friendship leather bracelet
-
 Waves In Loli Twisted Bali Hoop Earrings Silver 925 by BeYindi 22.39 USD
 -
 Stamped Silver Star 925 Drop Earrings by BeYindi 15.21 USD
 -
 Faceted Peridot Sterling Silver Hoop Earrings by BeYindi 38.02 USD
 -
 Septum Hoop Earrings Ornamented Mother Of Pearl 925 Silver by BeYindi 21.84 USD
Content of the table
Making leather bracelets at home is so incredibly easy that even a child will be able to handle the techniques! Let us prove that to you and learn how to make leather bracelets together.
Hook clasp leather bracelet

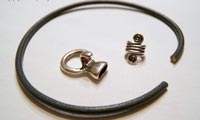
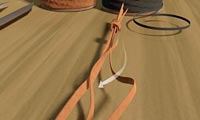
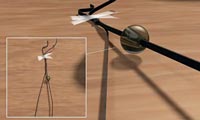
The first method will surprise you with how little supplies it requires; you just need a round leather string about 15-16 inches long, a round clasp, a decorative element like a bead, and jewelry glue.
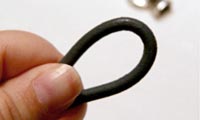
When all set, we can start creating. It will only take a few minutes. First, fold the leather cord in half and create a loop.
Now, slide your detail, in this case the bead, onto the cords through the loop. You will have your bead holding the two sides of the string together.

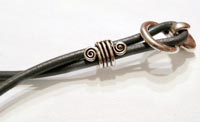
Next, take the clasp and glue it to the ends of the string on the other side. You will have a glued clasp on one side and the loop on the other.
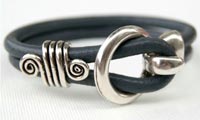
Place the bead within the bracelet as you wish. It could go higher or stay just in the middle. Close your bracelet by putting the loop through the clasp. Easy as it is!
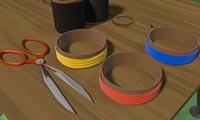
Braided leather bracelet
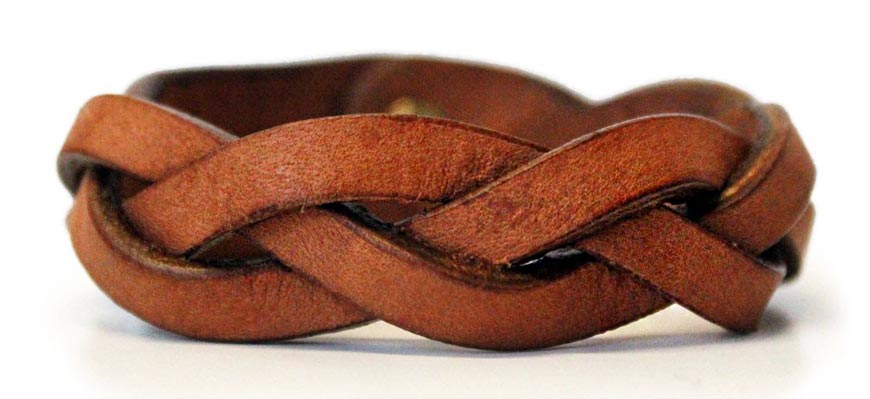
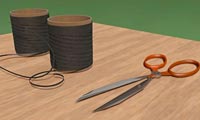
You will need three leather strips; those could be thin or thick, round or flat. It’s totally up to you to decide which you like better. Scissors and tape are also present in this tutorial.
 Measure how much leather you need to cut by putting the material around your wrist. You can place a mark where the string should end to make it easier for you. Cut three separate strips overall.
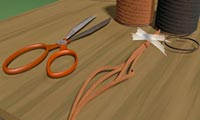
Gather the strips and make a knot out of them at the top of the bracelet. You are free to use just a regular knot here. Now, secure the strips by attaching them to a table with tape.
It’s time to start braiding. We will use the same type of braid used for hair. Lay out three strips; take the right one and place it over the middle strip. Now, your right cord became the middle, and the middle one moved to the right.
Take the left cord and place it over the middle one. Again, the strips switch sides. Now, the right over middle, left over middle, and so on.

Continue braiding until you have a bracelet long enough to fit your wrist.
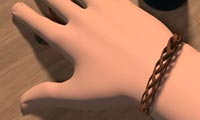
Tie the end of the bracelet by making a basic knot from unused strips. Cut the leftover strips. There you have your braided leather bracelet!
Beaded leather bracelet
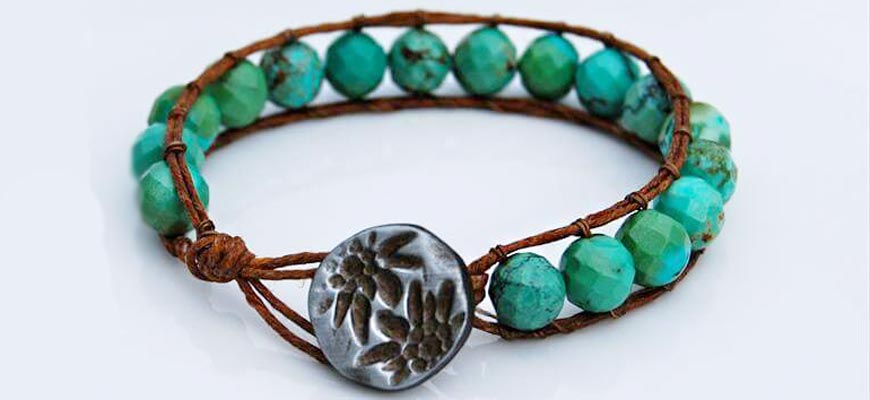
Take a long leather strip, several beads (depending on the length of the bracelet), and a pair of scissors. If you want a really bright outcome, check out Murano glass beads!
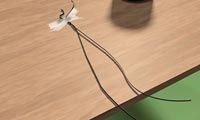
Cut two equal strands of leather. To determine the precise length of those, wrap the strips around your wrist and mark the place where they should end according to your measurement. It’s always a good idea to take a longer strip and cut the unused parts when the bracelet is finished.
Make a knot from two strings at the top of the bracelet. Make sure to leave some space above the knot. Then, use tape to secure the bracelet and attach it to the surface where you will be working.
Now, the beading begins. Place the first bead onto one string and slide it up to the knot.

Next, put the second string of leather through the same bead but from the other side so that there forms a loop around the bead. This is what we will be doing with each bead. Proceed to add beads to the bracelet by putting them one by one onto a string and feeding the second string through each bead from the opposite side.
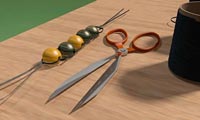
Continue adding beads until you feel like the length is sufficient to fit your wrist. To finish the embellishment, tie a knot beneath the last bead. Tie the tails on both sides of the bracelets and here you go!
Friendship leather bracelet
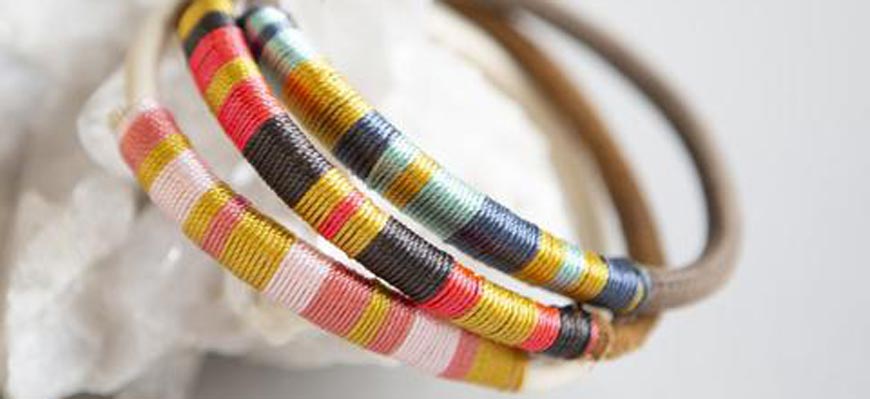
The supplies are almost the same: to make a friendship bracelet from leather, you need a thin strip of leather, tape, embroidery floss in several different colors, a pair of scissors, and leather glue.
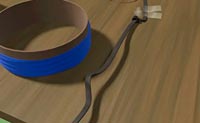
Measure the leather strip to fit your wrist. Secure it to the solid surface with tape. Leave around two inches at the top.
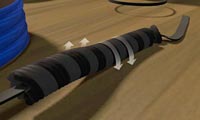
Put some glue on the leather strip and then wrap the first embroidery floss around the leather strip. Push it tight to the strip so that the glue works well and the floss sits steadily on the leather strip.
Continue wrapping new embroidery flosses one by one around the leather strip. Put glue before each step. The floss should go around the leather strip like a spiral.
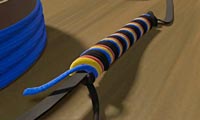
Cut the excess of each floss when wrapped around the strip.
Add as many colors to the bracelet as you wish. When finished with the embroidery floss, cut off the excess of the embroidery floss as well as the unused leather string, leaving about 1 inch of the strip hanging from the bracelet.
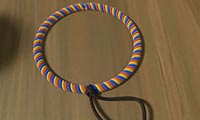
Now, make a basic knot from two leather strings on both sides and wear the bracelet proudly!
We genuinely hope our tutorial helped you find your favorite way of making a leather bracelet at home. Don’t be shy and show off your handmade adornments, showing people how skillful and creative you are!